Tutorial
Learn abap2UI5 by building something. The Walkthrough grows a small invoice app from a single message box into a complete application, one concept per step: the app class and its lifecycle, views written in ABAP, events, data binding, lists, tables, a selection screen and popups — and then takes the finished app out of the playground: to production in Step 11, and under unit tests in Step 12.
Each building step (1–10) is a complete, runnable class — the whole app as it stands at that point, not a fragment. Press the Run button under the code to start it in the browser, or copy the class into your system and launch it like any abap2UI5 app (see the Quickstart). No step depends on anything outside its own code, so you can also jump straight to the step you are interested in.
Preview
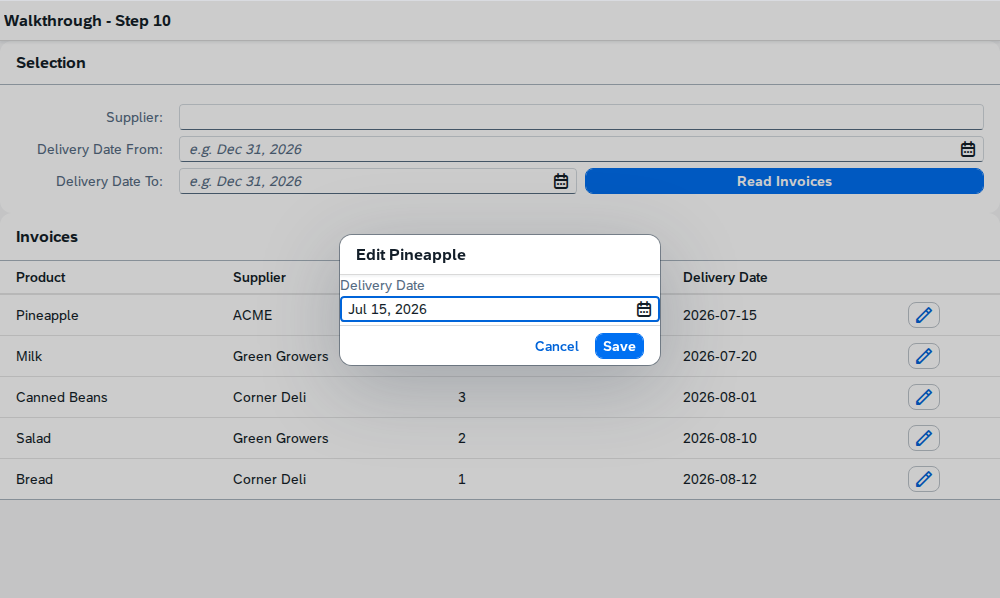
This is the app after the last building step — a few hundred lines of ABAP, no frontend project, no OData service.
Steps
- Step 1: The App Class — the smallest possible app: one class, one method, one message.
- Step 2: A First View — render a UI5 view built entirely in ABAP.
- Step 3: Events — a button, a press event, and the lifecycle behind them.
- Step 4: Data Binding — an input field whose value reaches the server by itself.
- Step 5: List Binding — show an internal table as a UI5 list.
- Step 6: Row Events — react to a click on a row, and know which row it was.
- Step 7: Popups — edit a row in a dialog.
- Step 8: Selection Screen — a form above the list, and reading the data it asks for.
- Step 9: Tables — swap the list for a real table with columns, cells and row actions.
- Step 10: App Structure — refactor into the structure real apps use.
- Step 11: From Playground to Production — real data, the transport order, authorization, and the URL users start from.
- Step 12: Unit Tests — test the app class like any ABAP class; no UI5 runtime involved.
What You Should Know
No prior abap2UI5 or UI5 experience is needed — the tutorial introduces every concept as it appears. Basic ABAP (classes, methods, internal tables) is assumed, and Hello World is the one page worth reading first: it starts the smallest possible app in your own system, which is where this tutorial picks up.
The Run button works without any installation at all, so you can also simply begin at Step 1.
Keep the Cheat Sheet open while you work through the steps — it is every recurring construct on one page, from binding syntax to the popup calls.
After the Tutorial
The Cookbook covers each topic again as a reference chapter, and three catalogues of complete, tested apps continue from there: